There are several reasons to release a case. When you release a case, the information you enter will appear in the Employment section on the Case screen.
One field that will not be populated from the information you enter when you release a case is the Employed Same or Better at 90 Day Review field. Within 90 days of releasing the case, you will need to go back to the Employment section of the case and fill in this field. This process will be explained later in this lesson.
To release a case:
-
1 Click on the Release icon at top of the Case page.
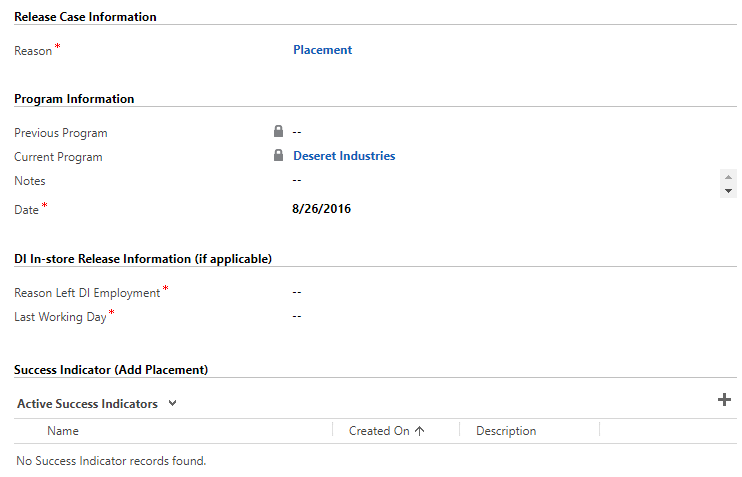
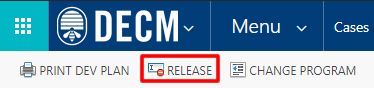 This will take you to the section where you will enter release information:
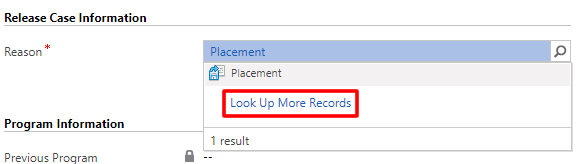
- 2 Hover over the Reason field and click on the search icon.
-
3 Click on Look Up More Records to see all options.
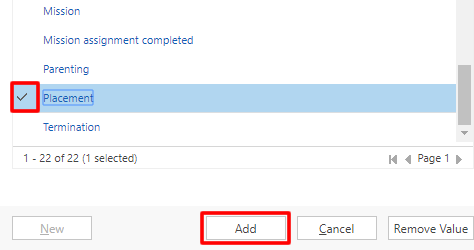
- 4 Find the proper item and click the blank space to its left to select it.
-
5 Click on Add at the bottom of the screen.
-
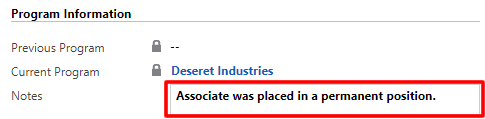
6 In the Notes field, type in release notes.
-
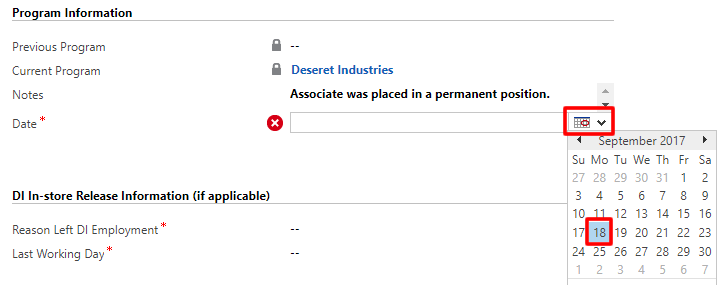
7 Select a release date (if necessary). To select it:
- a. Click on the Date field.
- b. Click on the calendar icon (to the right of the field).
-
c. Click on the proper date.
-
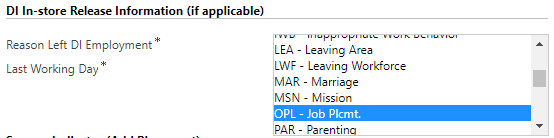
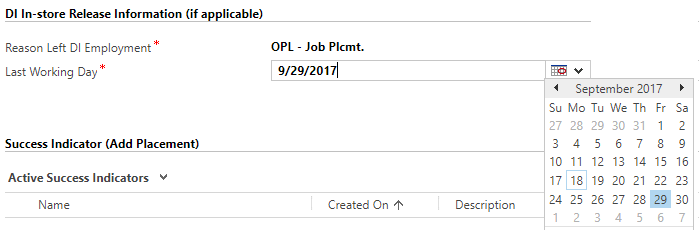
8 Complete the Reason Left DI Employment field. This field only shows if you are releasing someone from the Deseret Industries program (it will not show if the person is being released from Development Counseling Services or another program). To complete this field:
- a. Click on the field.
-
b. Select the best option.
-
9 Select a date in the Last Working Day field (repeat steps 7a-7c above to complete this field).
-
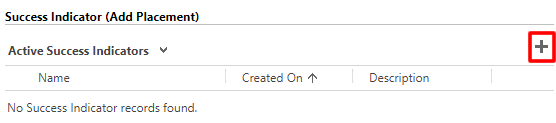
10 If there is a success indicator to record, add it in the Success Indicator table:
-
a. Click on the add sign to the right of the table.
-
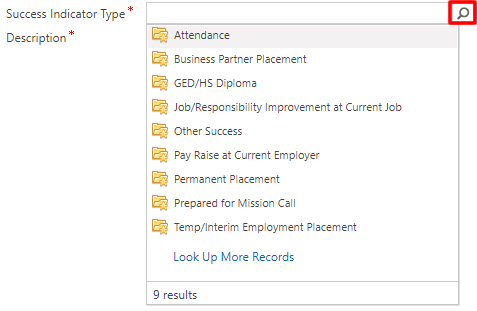
b. Hover over the Success Indicator Type, click on the search icon, and choose the proper value (see steps 2-5 above for more detailed instruction).
-
a. Click on the add sign to the right of the table.
-
11 Fill in the displayed fields.
Note: Any field with a red asterisk is a required field.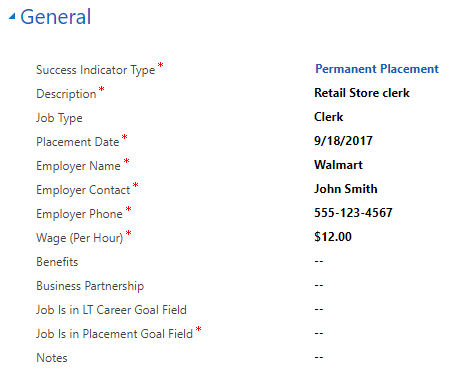
-
12 Click on Save and Close at the top right of the screen.

-
13 Check that the success indicator information has been added to the Success Indicator table on the release page.
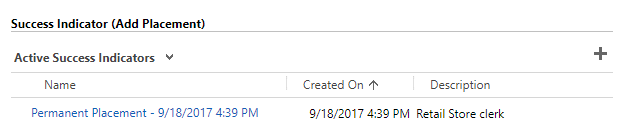
-
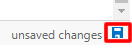
14 Click on the save icon at the bottom right of the screen.
To verify that the case was released:
-
15 Navigate back to the associate’s case by doing one of the following:
-
a. Click on the browser's back arrow at the top of the screen.

-
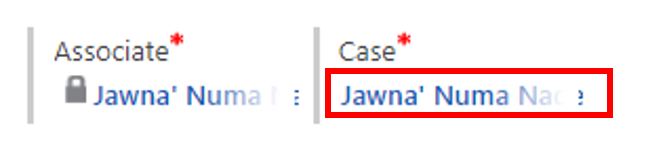
b. Click on the associate’s name under Case at the top right of the screen.
-
a. Click on the browser's back arrow at the top of the screen.
-
16 Notice that the menu ribbon has changed.
-
17 Check the Case Status field. It should say Released.

- 18 Go to the Employment section of the case and expand it.
-
19 Check the Release Information and Placement Information tables. These tables should show the data you entered when releasing the case.

-
20 The last field of the Placement Information table is Employed Same or Better at 90 Day Review.
When you have verified this information and are ready to complete this field:- a. Click on the field.
-
b. Select the best option.

-
21 Click on the save icon at the bottom right of the screen.
-
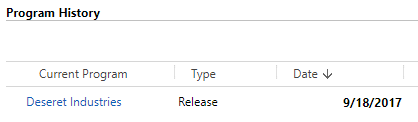
22 Find the Program History table. You will be able to see information related to the case’s release.