To add an attachment:
- 1 Go to the Attachments section of an associate’s case.
-
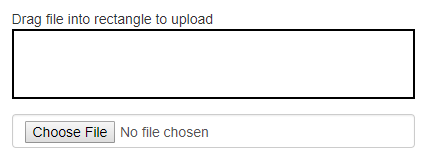
2 Select the file you wish to upload by doing one of the following:
- a. Drag the file into the rectangle box.
- b. Click Choose File, select the desired attachment, and click Open.
-
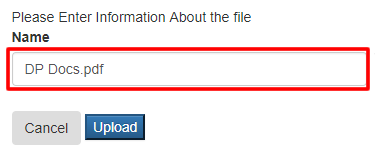
3 Check that the document you have uploaded is the correct one (once the document is uploaded it will be very hard to remove it).
-
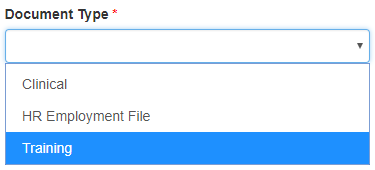
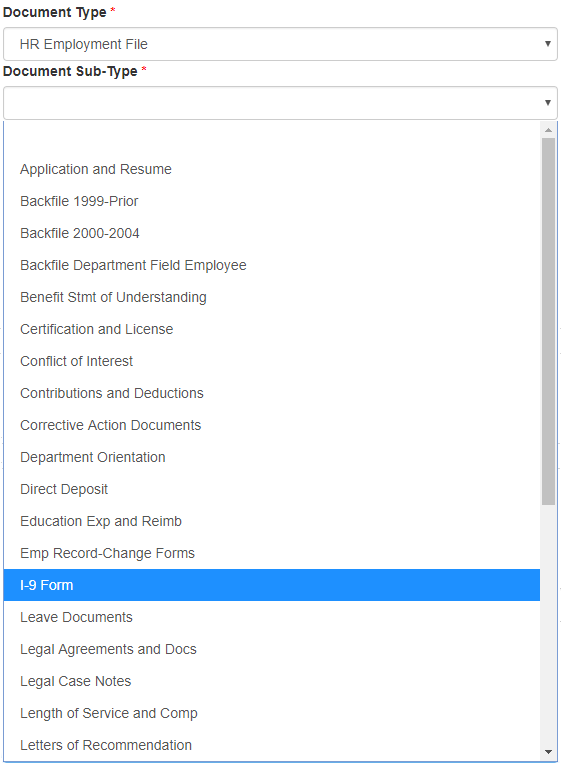
4 Select the document type of the attachment. Note: If you upload an HR Employment File attachment, it will go to FileNet and will not be viewable or editable.
-
a. If you select HR Employment File in the Document Type field, a Document Sub-Type field will appear. Select the document sub-type of the attachment.
-
a. If you select HR Employment File in the Document Type field, a Document Sub-Type field will appear. Select the document sub-type of the attachment.
-
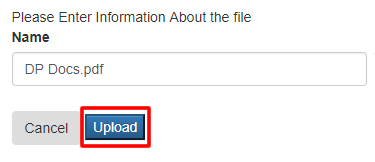
5 Click Upload under the attachment’s name.
-
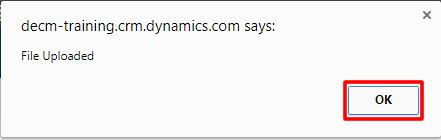
6 Click OK on the message (displayed at the top of the screen) that states that the file has been uploaded.
-
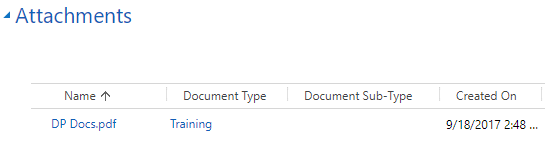
7 Verify that your attachment was uploaded and is now in the system.