To edit a success indicator:
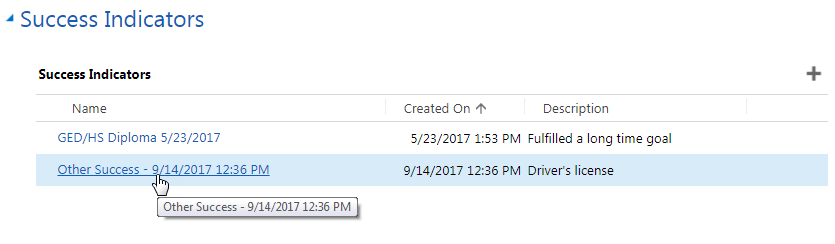
- 1 Go to the Success Indicators section of the case.
- 2
Click on the name of the success indicator you wish to edit.
- 3
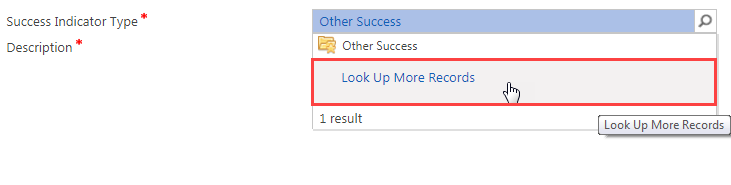
To change the success indicator type:
- a.
Hover over the field and click on the search icon.

- b.
Click on Look Up More Records.
- c.
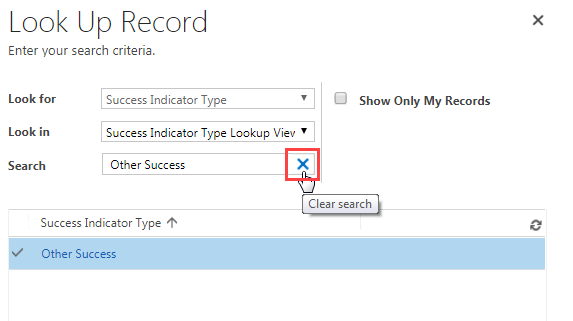
Click on the X to the right of the Search field. This will clear the Search field and allow you to look for more options.
- d.
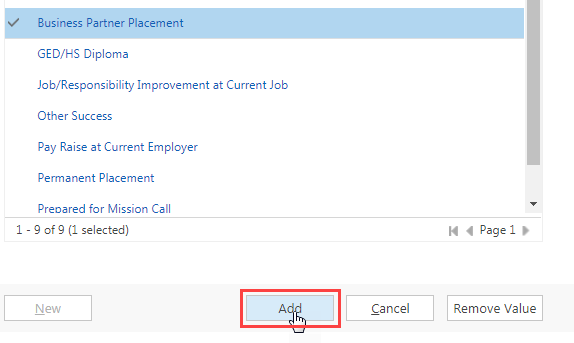
Scroll through the listed options and click the blank space to the left of the best one to select it.
Note: Do not click on the list item itself. That opens another window about that list item.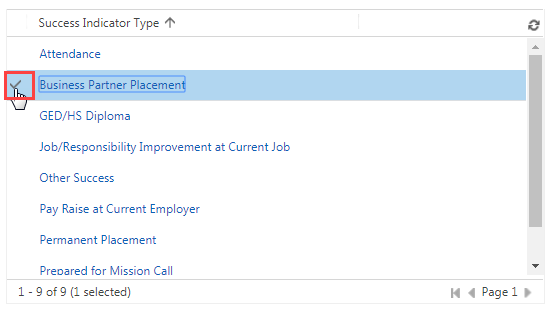
- e.
Click on Add at the bottom of the Look Up Record screen.
- a.
Hover over the field and click on the search icon.
- 4
Edit or fill in the other fields shown on your screen as necessary. Remember that a red asterisk indicates required information.
- a.
To fill in most of these fields, click on the field and type in the information.

- b. If the field shows a search icon, follow the instructions in steps 3a-3e above.
- c.
If the field requires a date:
- i.
Click on the Date field.
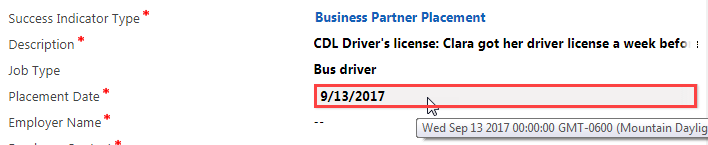
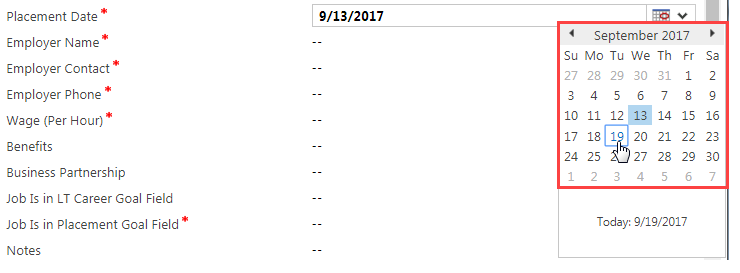
- ii.
Click on the calendar icon.

- iii.
Click on the proper date.
- i.
Click on the Date field.
- a.
To fill in most of these fields, click on the field and type in the information.
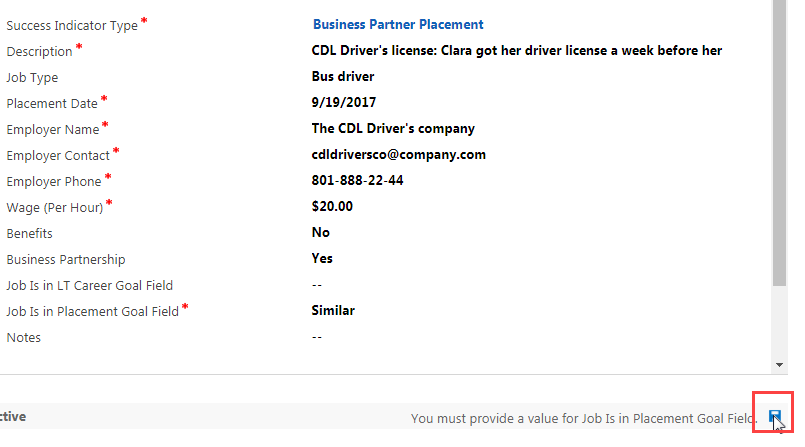
- 5
Click on the save icon at the bottom right of the Success Indicator screen.
- 6
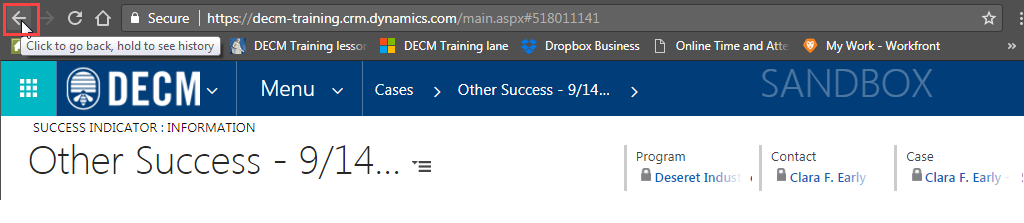
To return to the main Case screen, do one of the following:
- a.
Click on the browser's back arrow.
- b.
Click on the name under Case.

- a.
Click on the browser's back arrow.
Practice:
Edit a Success Indicator
Complete the tasks listed below in the training system. When you finish, return to this training page, and move to the next task.
- Edit the required fields of a success indicator on an associate’s case.