To add a success indicator, go to the Success Indicators section of the case and do the following:
- 1
Click on the add icon at the top right of the Success Indicators table.

- 2
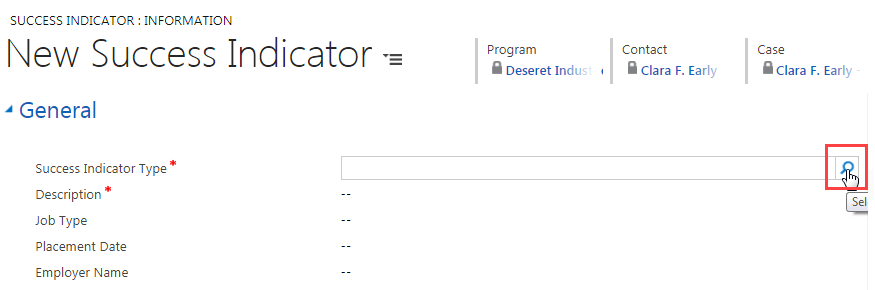
Click on the search icon at the right of the Success Indicator Type field.
- 3
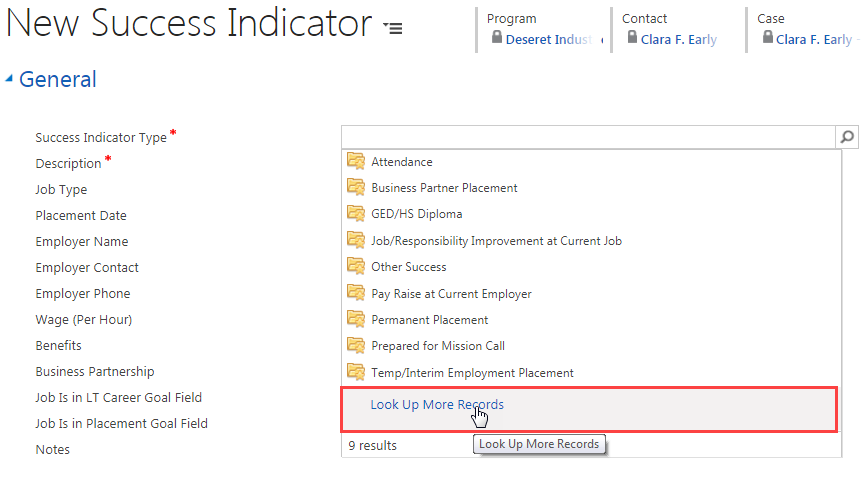
Click on Look Up More Records to display all types of success indicators.
- 4
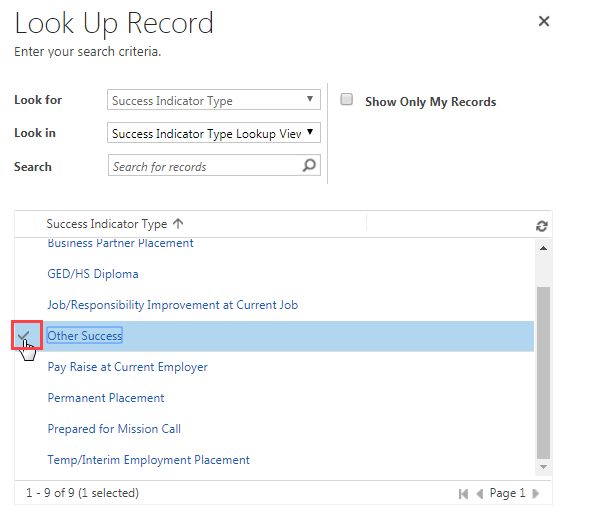
Scroll through the list. Click the blank space to the left of the category that best matches the success indicator you wish to record. This selects that category.
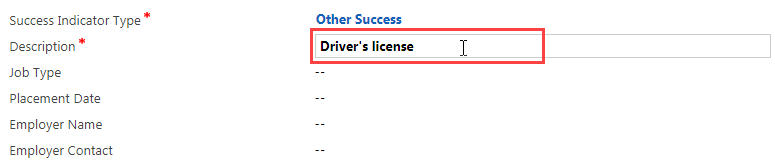
 Note: Make sure you select the proper category. This will help you keep accurate records. Once saved, the success indicator type will become the success indicator name (see number 8 below).
- 5
Click on Add at the bottom of the Look Up Record screen.
 Note: Depending on the success indicator type you select, more fields may appear on your New Success Indicator screen.
- 6
Fill in the other fields shown on your screen. A red asterisk indicates required information.
- a.
To fill in most of these fields, click on the field and type in the information.
- b. If the field shows a search icon, follow the instructions in steps 2-5 above that explain how to complete this kind of field.
- c.
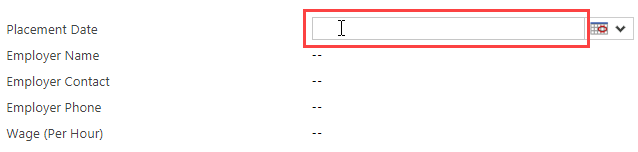
If the field requires a date:
- i.
Click on the Date field.
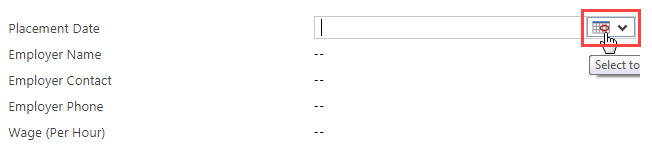
- ii.
Click on the calendar icon.
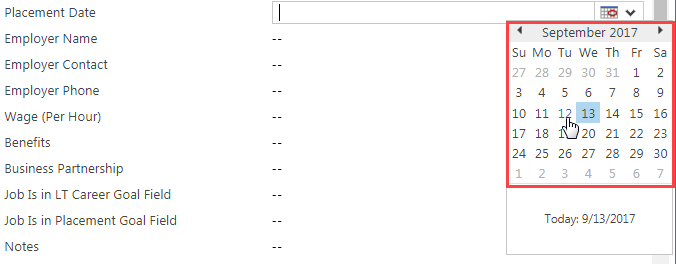
- iii.
Click on the proper date.
- i.
Click on the Date field.
- a.
To fill in most of these fields, click on the field and type in the information.
- 7
Click on Save and Close at the top of the New Success Indicator screen.

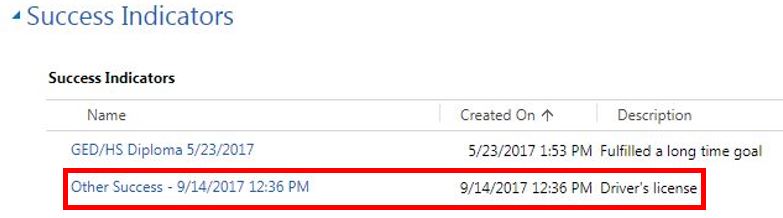
- 8
View the newly added success indicator on your Case screen.
Practice:
Add a Success Indicator
Complete the task listed below in the training system. When you finish, return to this training page and move to the next task.
- Add a success indicator in an associate’s case.