To add a sticky note:
- 1
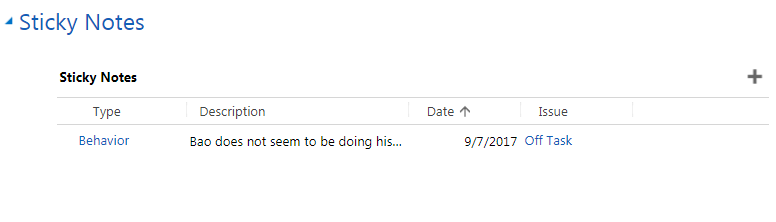
Go to the Sticky Notes section (on the main Case screen).
- 2
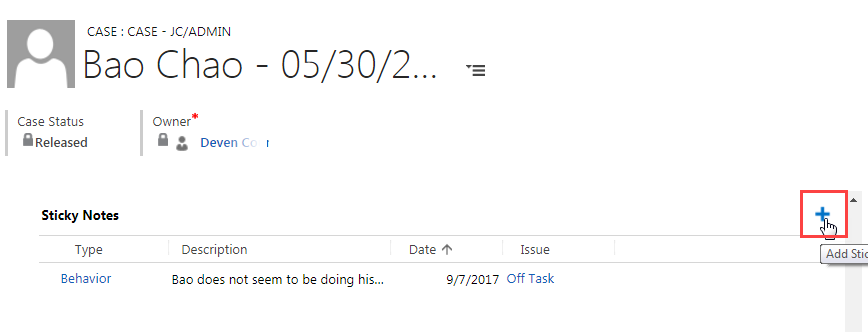
Click on the add icon (at the right of the screen).
- 3
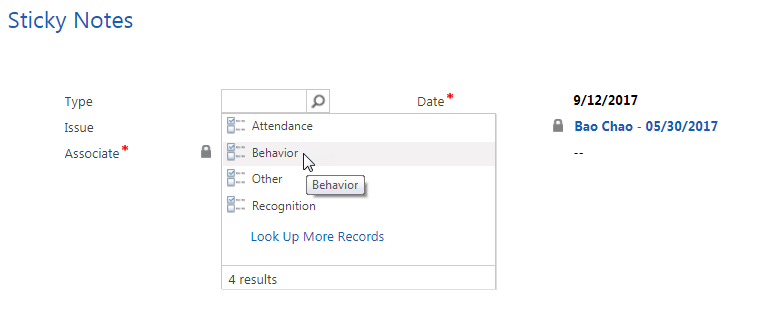
Click on the search icon in the Type field.

- 4
Select the sticky note’s classification type.
- 5
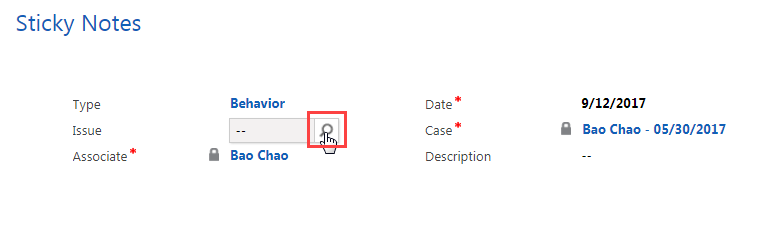
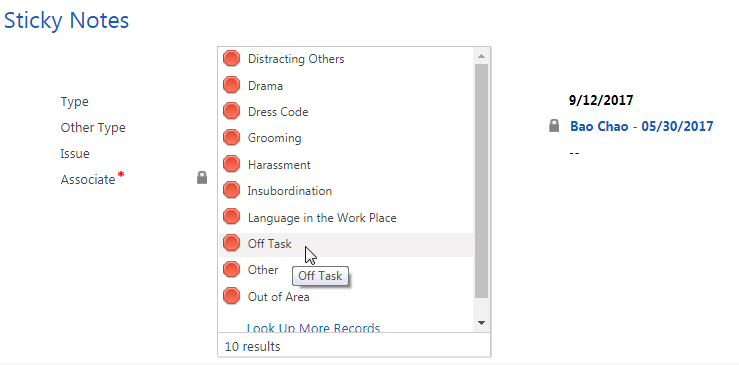
Hover over the Issue field and click on the search icon.
- 6
Click on the category that best describes the issue.
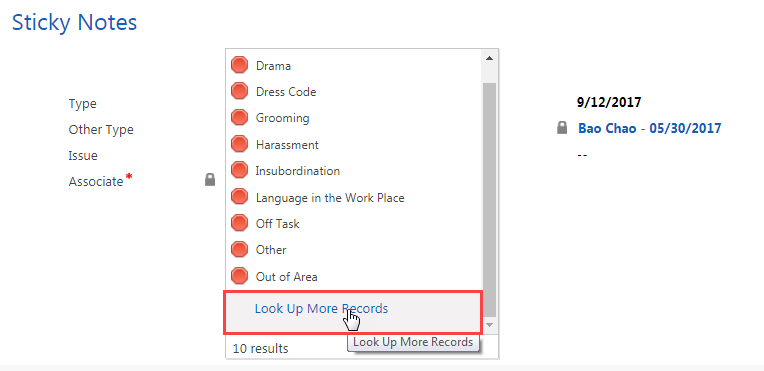
 Note: Some categories have more issues than others. If you are unable to see (or have questions about being able to see) all issues, do the following:
- a.
Click on Look Up More Records.
- b.
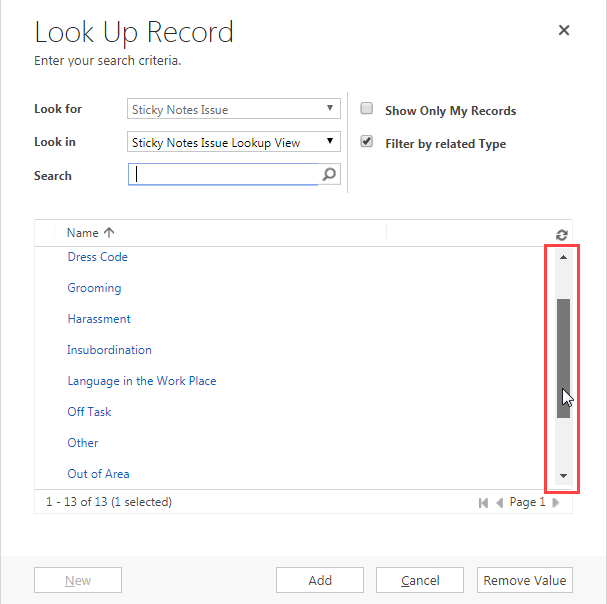
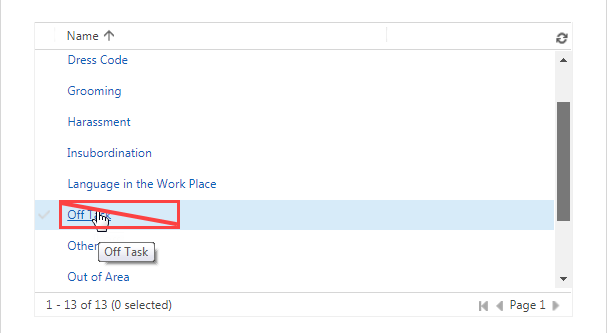
Scroll down the list until you find the correct issue.
- c.
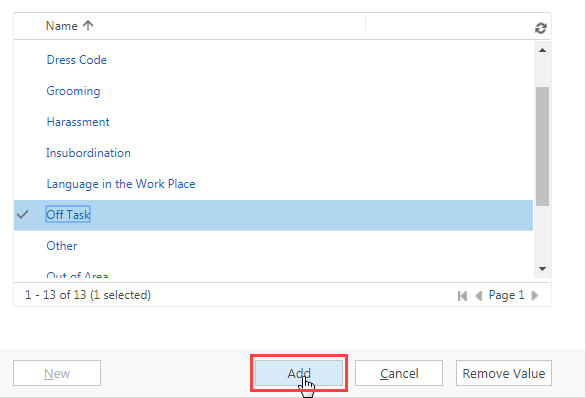
Click to the left of the issue to select it. You should now see a check mark by the issue you selected.
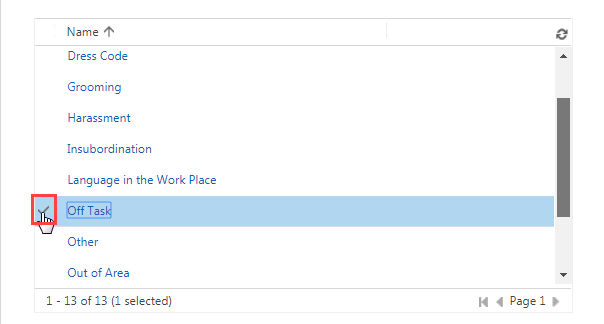 Note: Do not click on the blue hyperlinked text. Clicking on it will take you to a screen describing the issue category.
- d.
Click on Add.
- a.
Click on Look Up More Records.
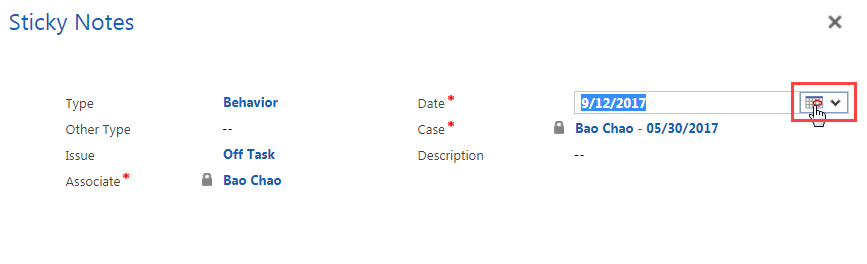
- 7
Next, review the Date field. DECM automatically populates this field with the date the sticky note is created.
If you need to adjust the date:- a. Click on the Date field.
- b.
Click on the calendar icon.
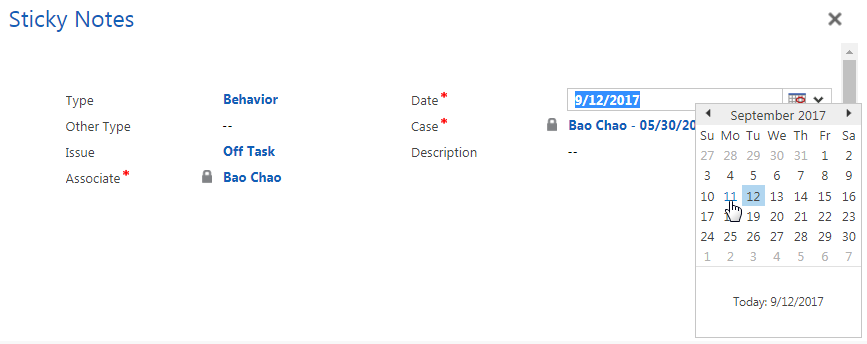
- c.
Click on the correct date.
- 8
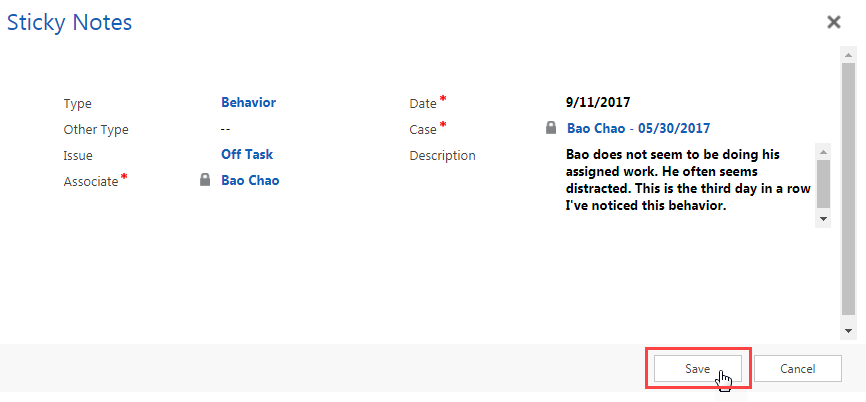
Type your notes in the Description field.

- 9
Click Save (at the bottom right of the Sticky Notes screen).
Practice:
Add a sticky note
Complete the task listed below in the training system. When you finish, return to this training page and move to the next task.
-
Add a sticky note to a case. Complete the following fields:
- Type
- Issue
- Date
- Description