Prepare the Picture
- 1 Take a close-up picture of the person’s face. Try to get just the head or just the head and top of the shoulders.
- 2 Transfer the image to your computer.
- 3 Pictures need to be 5 MB (5,000 KB) or smaller in file size. If an image file is over 5 MB, use a graphics program to change the image size.
Add the Picture
You will need to add the picture to the Contact page and the Case page. First, add the picture to the Contact page.
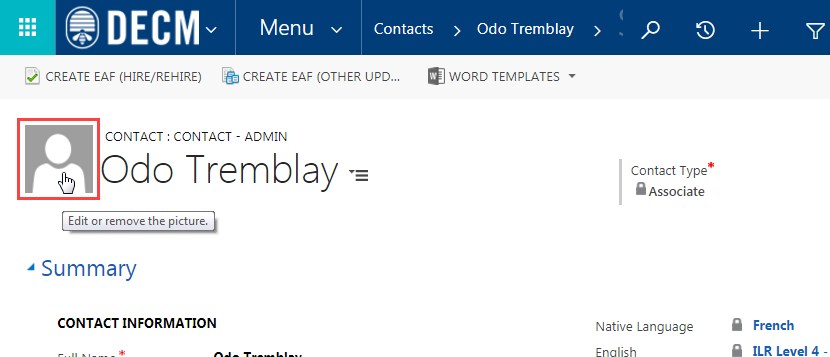
- 1
At the top of the page, click the default image next to the name.
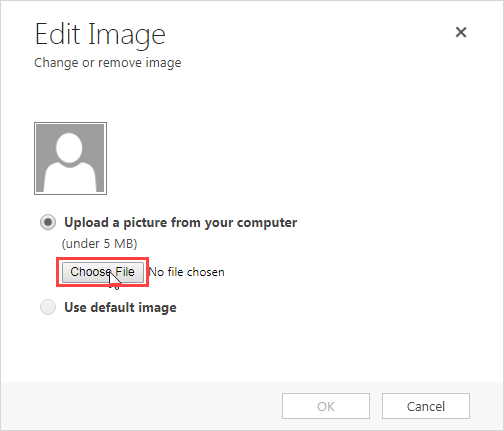
- 2
On the Edit Image screen, click Choose File.
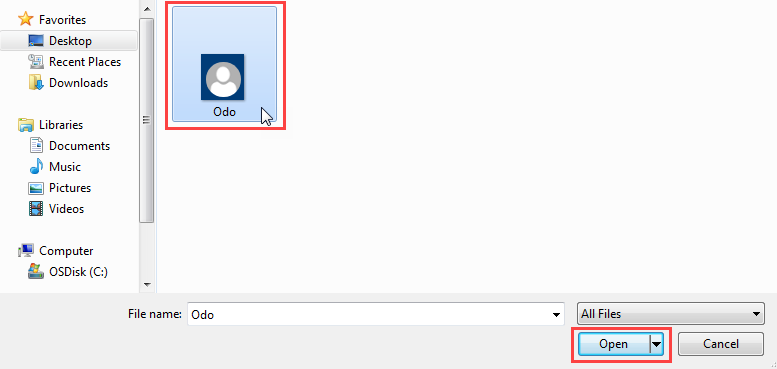
- 3
Locate the image file on your computer, click to select it, and then click Open.
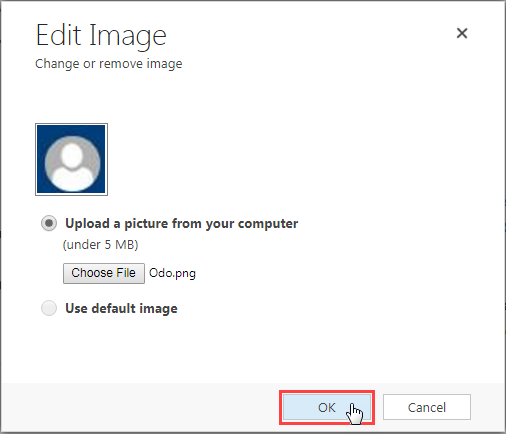
- 4
Click OK. The picture will appear next to the name.
- 5
At the bottom of the Contact page, click a case title under Cases to view the case.
- 6 Follow steps 1-4 above to add the picture to the case.
Note: If the photo rotates when uploaded, it is too long. Crop the photo so its shape is square. Then re-upload the photo.