On the Referral page, these icons have special meaning:
|
|
|
|

|
|
- 1 After filling in the referral contact information, complete the following information about the referral.
- a. Source: The default for Source is “Walk-in with referral.”
- b. Bishop’s Authorization Received date: Click the field, and then click the calendar icon to add the date you received the Bishop’s Authorization for Services form.

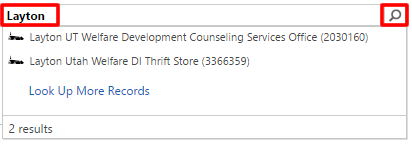
- c. Local Unit: The local unit is automatically filled in for referrals created using the Member Search button. For other associates, enter the local unit. Click the field, enter the ward name, and click the search icon. Note: Do not enter numbers. For example, to find “Ogden 5th Ward,” enter only “Ogden,” and click the search icon.
- d. Location: Click the field and either enter part of the name and click the search icon or just click the search icon to select the correct DI or DCS location (depending on whether you recommend a Deseret Industries training program or Development Counseling Services).
- e. Bishop’s Comments: Click the field and enter any comments from the Bishop’s Authorization for Services form.
- f. Member: If you selected a member using Member Search, this is automatically set to yes. If you created a contact, you can indicate no.
- g. LDS Account ID: Click the field and enter the associate’s LDS Account username. If the associate does not have an LDS Account, help him or her to create one. The associate will need an account to see the associate portal. He or she must have an email address to get an LDS Account.
- h. Native Language: Click the field and either enter part of the language name and click the search icon or just click the search icon. Click the language to select it.
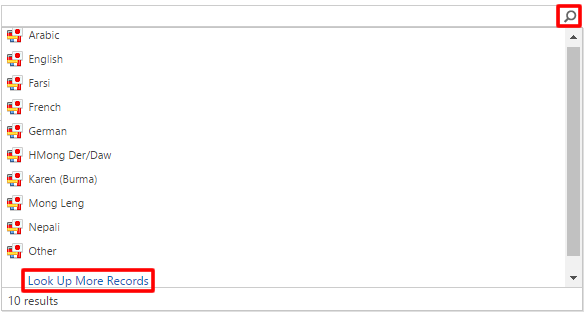
If the language is not listed, click Look Up More Records to see the complete list.
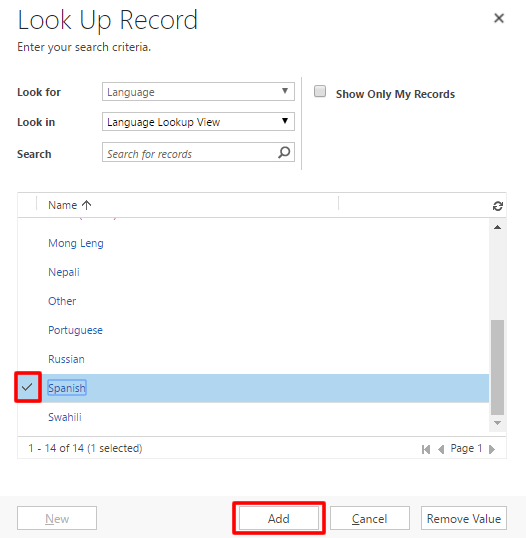
On the Look Up Record screen, if there is something in the search field, delete it, and press Enter to refresh the list. Scroll through the list, click the white space to the left of the list item to select it, and click Add.
Note: On this screen, do not click the list item itself. That opens another window about that list item.

- i. English: Click the field, and then click the search icon to select the associate’s English proficiency if needed.
- j. Employed in the Last 12 Months: Select yes or no. If yes, fill in the hourly wage, enter the job type, and indicate if they had benefits.
- k. Recommended Program: Click the field, and then click the search icon and select one of the options.
- l. Development Counselor: Click the field, enter your name, click the search icon, and select yourself.
- m. Initial Evaluation Completed: Click to indicate yes. You cannot enroll the associate until this is completed. If you are not sure what is included in the initial evaluation, contact your manager.
- n. Date Completed: Click the field, and then click the calendar icon and select the date.
- o. Training Case Note: Click and add any recommendations. Note: Do not add clinical notes as this note is transferred to the case and is viewable by all.
- p. Services Requested by Bishop: Check what was on the Bishop’s Authorization for Services form.
- q. Notes: You must save the record before you can enter these notes. This is an extra notes field where you can enter notes that are not transferred to the case. These notes are only viewable in the referral record by development counselors.
- 2 There are two possible places to save the record.
- a. For a new referral, at the top left, click either Save or Save and Close.
- b. For a previously saved referral, at the bottom right, click the save icon. Note: The system automatically saves changes every 30 seconds. If there is no “unsaved changes” message next to the icon, your changes have been automatically saved.